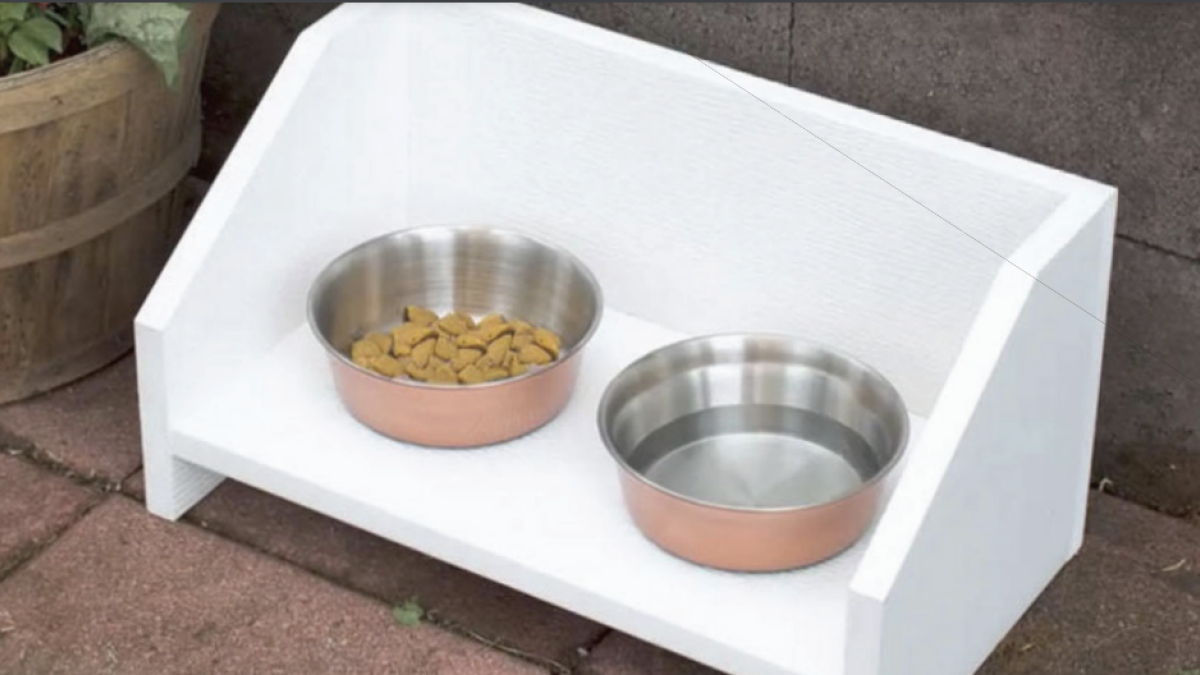
Elevated Pet Bowl
Let’s Do This.
Elevated Pet Bowl
- Project Location: Exterior
- Time Commitment: 2-4 Hours
- Skill Level: Beginner
What You’ll Need
Cut List: 4 PVC Trim boards
- 2 - 10x9 1/4" (sides)
- 10 x 16 1/2" (base)
- 10 x 18" (back)
General
- Circular table saw
- 13 - 2" Cortex or Starborn screws and plugs
- Powered screwdriver
- PVC cement
- Tape measure
- Safety goggles
- Pencil
- Dog bowls - 6" in diameter
- Non-slip shelf and drawer liner (optional)
Instructions
STEP ONE: Measure and cut.
Using your tap measure, pencil and table saw, measure and cut the pieces for your stand sides, base and back.
STEP TWO: Assemble your pieces.
Assemble your sides. Use PVC cement and cortex screws.
STEP THREE: Adhere the sides.
Measure 2 1/2" up on the sides and use PVC cement to adhere sides to the shelf. Add cortex screws to keep it in place.
STEP FOUR: Add a non-slip liner.
Measure, cut and apply your non-slip shelf liner to the base of the stand.
STEP FIVE: Make it your own.
Enlist the help of your family and decorate to customize for your beloved pet. Fill with food and water, and you (and your furry friend) are set!
Now, kick your feet up!
Success! You did it. Don’t forget to share your project with us by tagging @WestlakeRoyalBuildingProducts.


